WATCH: How to Carve a Design Into a Pumpkin


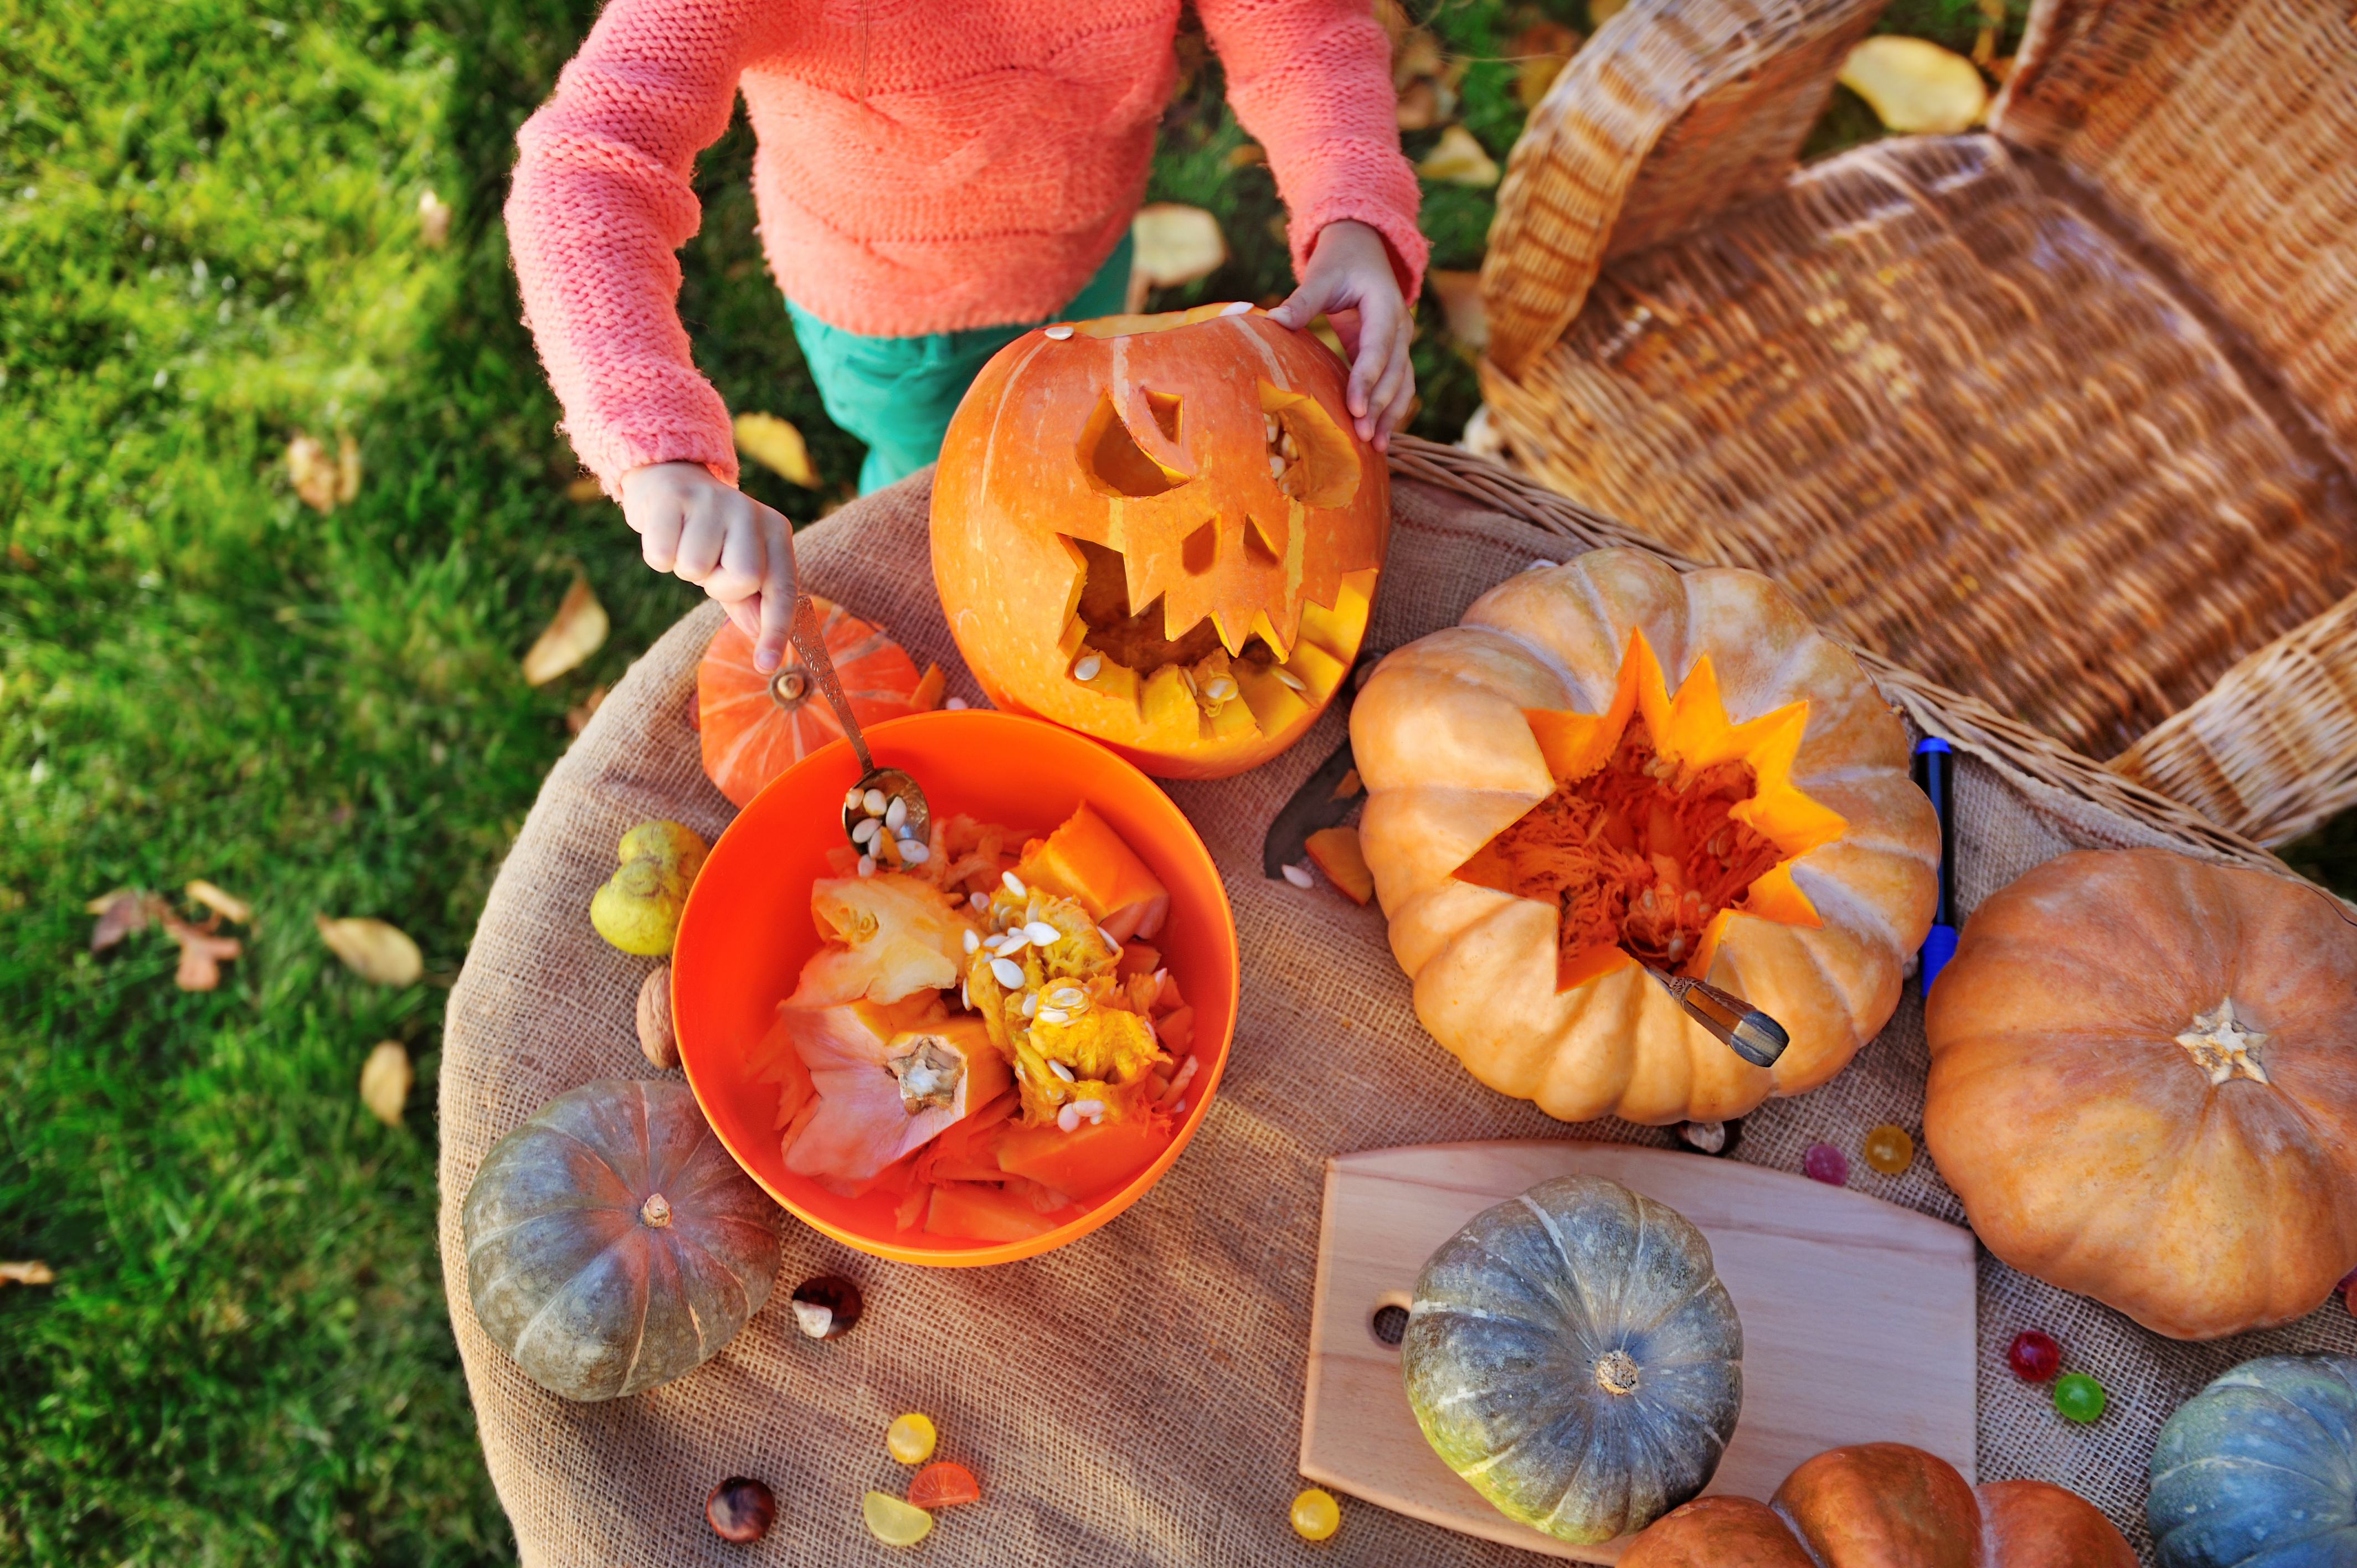
For decades carving a pumpkin has been a beloved fall tradition in America. But oftentimes the vision one has for their pumpkin design is far from the results. To avoid embarrassment this Halloween, follow the tips and tricks below.
Steps on how to carve a printed design onto a pumpkin:
- Grab a pumpkin and choose the picture you want to carve
- Use a keyhole knife to cut the top off in whichever shape you wish
- Clean the pumpkin out with a scoop tool
- Staple the printed picture onto the front of the pumpkin
- Use a fine tooth saw to cut small holes along the design onto the pumpkin
- Take the paper and staples off and put flour on your pumpkin to see your outline easier
- Use the keyhole saw to cut the outline out and a small knife to finely cut the outline
- Put your candle inside and enjoy!
However, Good Housekeeping has some different advice to perfect your pumpkin.
Choose a pumpkin that is fresh, with a sturdy stem, no bruises and a flat bottom so it won’t roll while your carve.
Cut your “lid” from the bottom of the pumpkin to prevent the sides from caving in later
Scoop out the insides, and then some. Thin the inner wall of the “face” area to a little over one inch thick so it will be easier to pierce the shell.
Sketch out your design on paper first, then tape it to the front of the pumpkin. Use a fork or pencil to poke holes along the lines you want to carve.
Start with the big cuts first and then clean up the edges of your design later.
To keep a fresh look throughout the evening, spread petroleum jelly on the cut edges to seal in moisture.
To create a welcoming aroma, sprinkle cinnamon inside the lid, that way it will smell like pumpkin pie.
Share this news on your Fb,Twitter and Whatsapp
NY Press News:Latest News Headlines
NY Press News||Health||New York||USA News||Technology||World News


